

This blog contains the guide to setting up a working Minikube cluster on MAC M1/M2 arm64 systems using the Qemu emulator as the backend driver.
Qemu emulator is the best option to run a Kubernetes Cluster using minikube on MAC arm64-based systems without any issues. All other setups like Docker, Podman, and Virtualbox run into some sort of issue.
Setup Minikube on MAC M1/M2
Step 1: Install Qemu
Install the Qemu emulator using the following command.
brew install qemuStep 2: Setup Qemu socket_vvmnet
For minikube service URLs to work, you need to start the socket_vmnet service
brew install socket_vmnet
brew tap homebrew/services
HOMEBREW=$(which brew) && sudo ${HOMEBREW} services start socket_vmnet
Step 3: Install minikube
brew install minikubeStep 4: Start Minikube with the Qemu driver and socket_vmnet
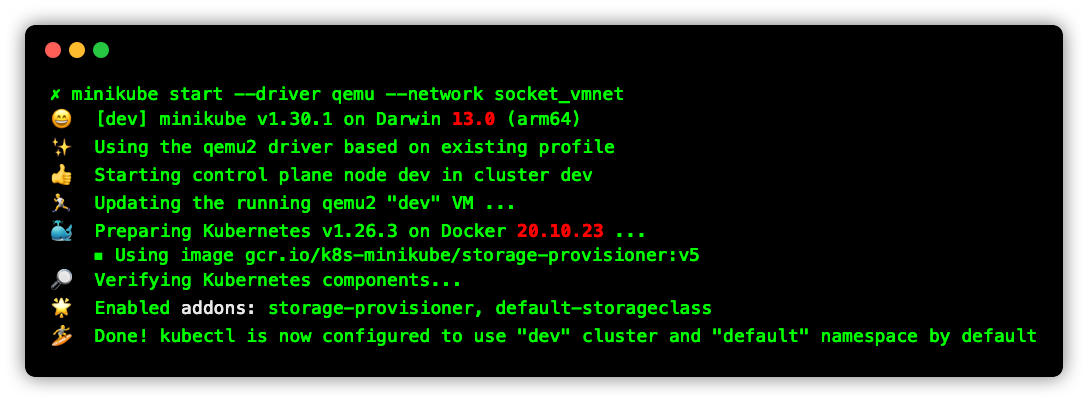
minikube start --driver qemu --network socket_vmnetOn successful execution, you should see the below output.
Validate Minikube Setup
To validate the setup let’s deploy a sample nginx application with a NodePort service. So that we can validate pod deployment as well as network access using the NodePort service.
Execute the following kubernetes manifest to deploy nginx deployment and a Nodeport service
cat <<EOF | kubectl apply -f -
apiVersion: v1
kind: Service
metadata:
name: web-service
spec:
ports:
- name: http
port: 80
selector:
app: web
type: NodePort
---
apiVersion: apps/v1
kind: Deployment
metadata:
name: web-deployment
spec:
replicas: 2
selector:
matchLabels:
app: web
template:
metadata:
labels:
app: web
spec:
containers:
- image: nginx:1.14.2
name: nginx
ports:
- containerPort: 80
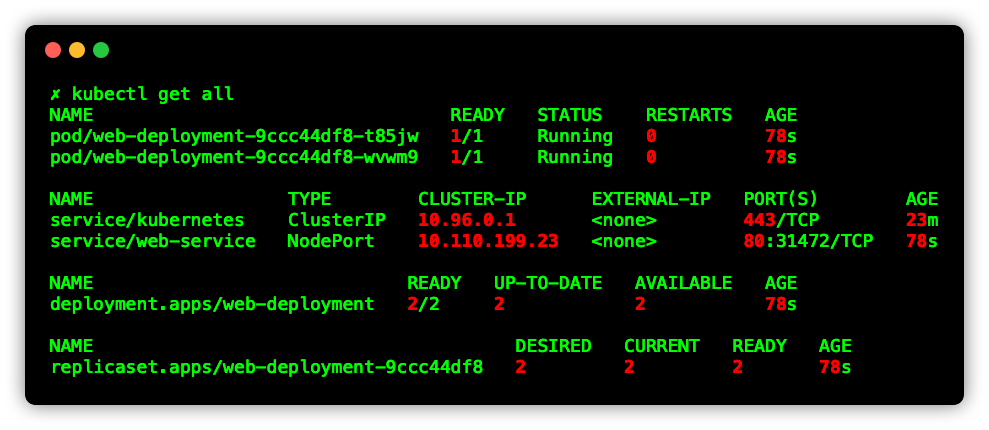
EOFValidate the deployment and service
kubectl get allYou should see an output as shown below.
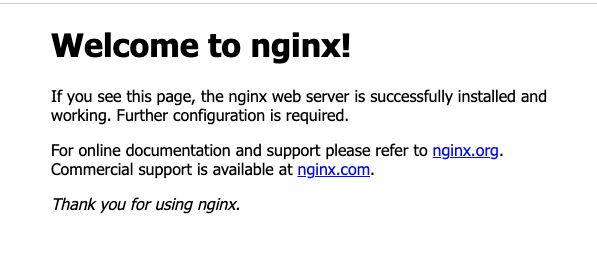
To validate the networking, get the service URL using the following command. It will give you the node IP with NodePort in URL format.
minikube service web-service --urlAccess the URL and you should be able to view the Nginx home page as shown below
Minikube Qemu Issues Issues
If you don’t have socket_vmnet running with Qemu and if you try to access Minikube service URLs, you will get the following error.
To rectify this, install the socket_vmnet using the commands given in step 2 under the setup guide.
❌ Exiting due to MK_UNIMPLEMENTED: minikube service is not currently implemented with the builtin network on QEMU, try starting minikube with '--network=socket_vmnet'Conclusion
If you are new to Minikube, check out my Minikube tutorial where I have added all the required steps to get you started with a development Kubernetes cluster.
If you are learning Kubernetes, check out the Kubernetes learning path and Kubernetes tutorials for beginners.
Nguồn: How to Setup Minikube on MAC M1/M2 — DevOpsCube